Getting Started
From nothing to your first AI-built feature in about fifteen minutes: start a trial, install the add-in for your CAD system, open the desktop agent, sign in, and run a prompt whose result you can verify.
1. Start a trial (or get a seat)
Go to Start your free trial. The trial runs for 30 days with full access to all five CAD systems, and you bring your own AI key — your AI provider bills you directly, so no card is needed to begin.
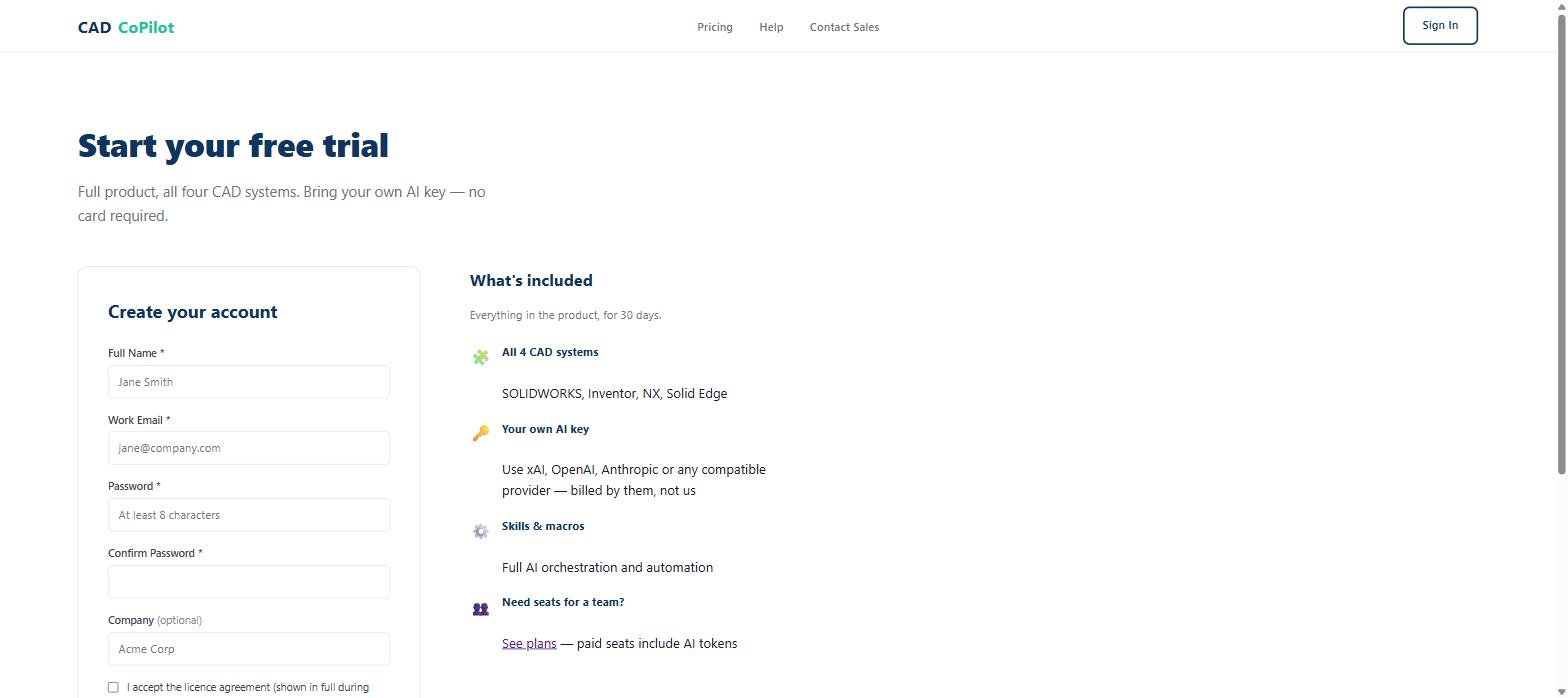
Fill in your name, work email and a password, then submit the form.
Verify your email. A message arrives with a confirmation link. The account stays locked until you click it — if nothing arrives within a few minutes, check your spam folder before requesting another.
Sign in to the organization portal to see your licence, seats and settings.
If your company buys seats instead, an administrator invites you and you receive an invitation email; your seat and plan are already set up when you first sign in. Pricing and plan limits are on the pricing page.
2. Install the add-in for your CAD system
Each CAD system has its own installer. Close the CAD application before installing, then start it again afterwards. What you get is a CAD CoPilot ribbon tab (or panel) with a small set of commands — the one you want first is Open Desktop Agent.
| CAD system | Where CoPilot appears | Detailed page |
|---|---|---|
| SOLIDWORKS | CAD CoPilot ribbon commands, plus a task-pane tab | SOLIDWORKS |
| Autodesk Inventor | CAD CoPilot ribbon panel | Inventor |
| Siemens NX | CAD CoPilot ribbon tab | NX |
| Solid Edge | CAD CoPilot ribbon tab (icon-only buttons — hover for the name) | Solid Edge |
| AutoCAD | CAD CoPilot ribbon tab, or the COPILOT command | AutoCAD |
3. Sign in
Click Open Desktop Agent on the ribbon. The agent starts in the system tray and its balloon appears; sign in with the email address and password for your organization account — the same credentials as the web portal.
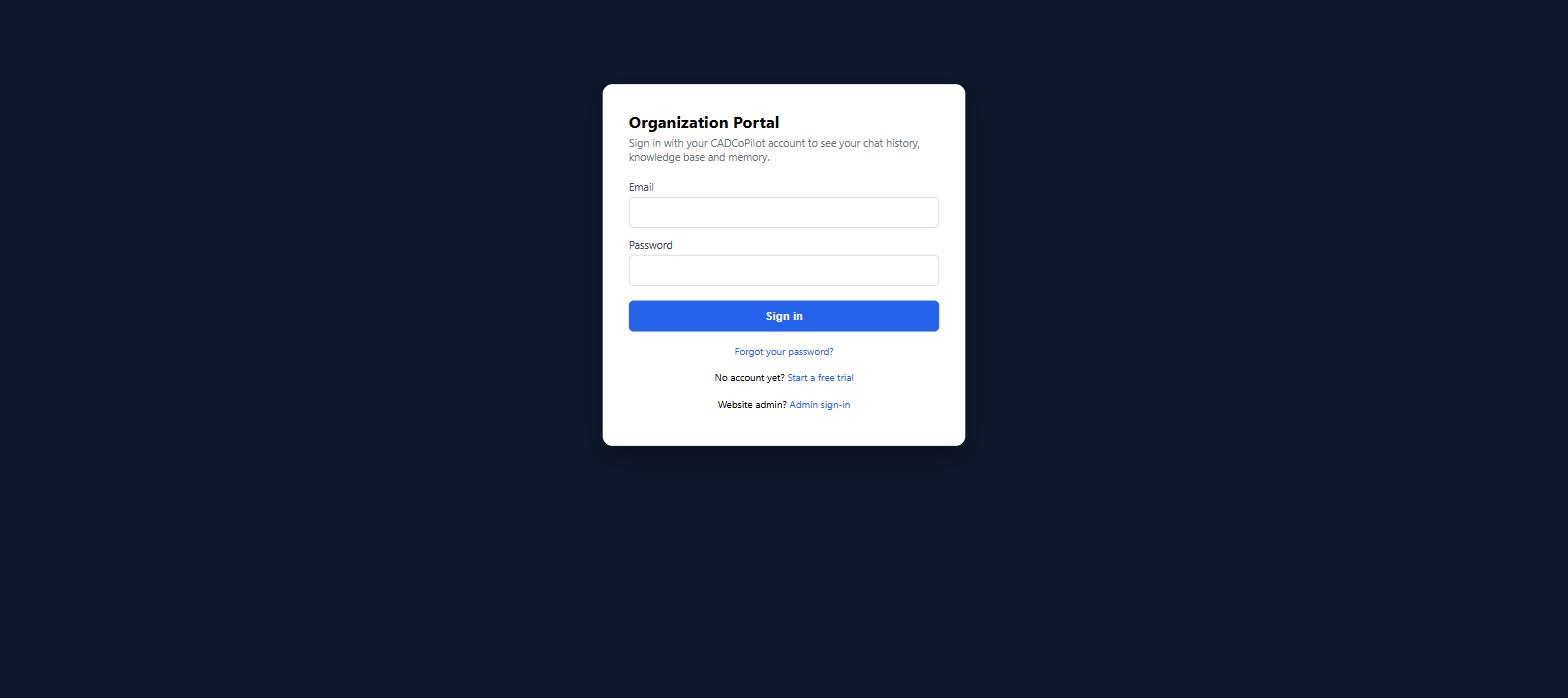
If your organization runs its own server, enter its URL in Settings first. See Sign In & Out for switching accounts.
4. Check you are connected
Your chat runs through your organization's CADCoPilot server, which handles the AI provider, licensing and usage tracking for you. There is nothing to choose — just confirm it is connected before your first prompt.
Hover the tray icon: it reports starting, connecting, connected, stopped or not signed in. The dot at the bottom-left of the balloon tells you about the CAD side — hover it for CAD sessions healthy or No CAD session connected.
5. Your first prompt
Type a request in the agent and press Enter. CoPilot performs the operations in your open CAD document and reports each step. Start with something whose answer you can check by hand:
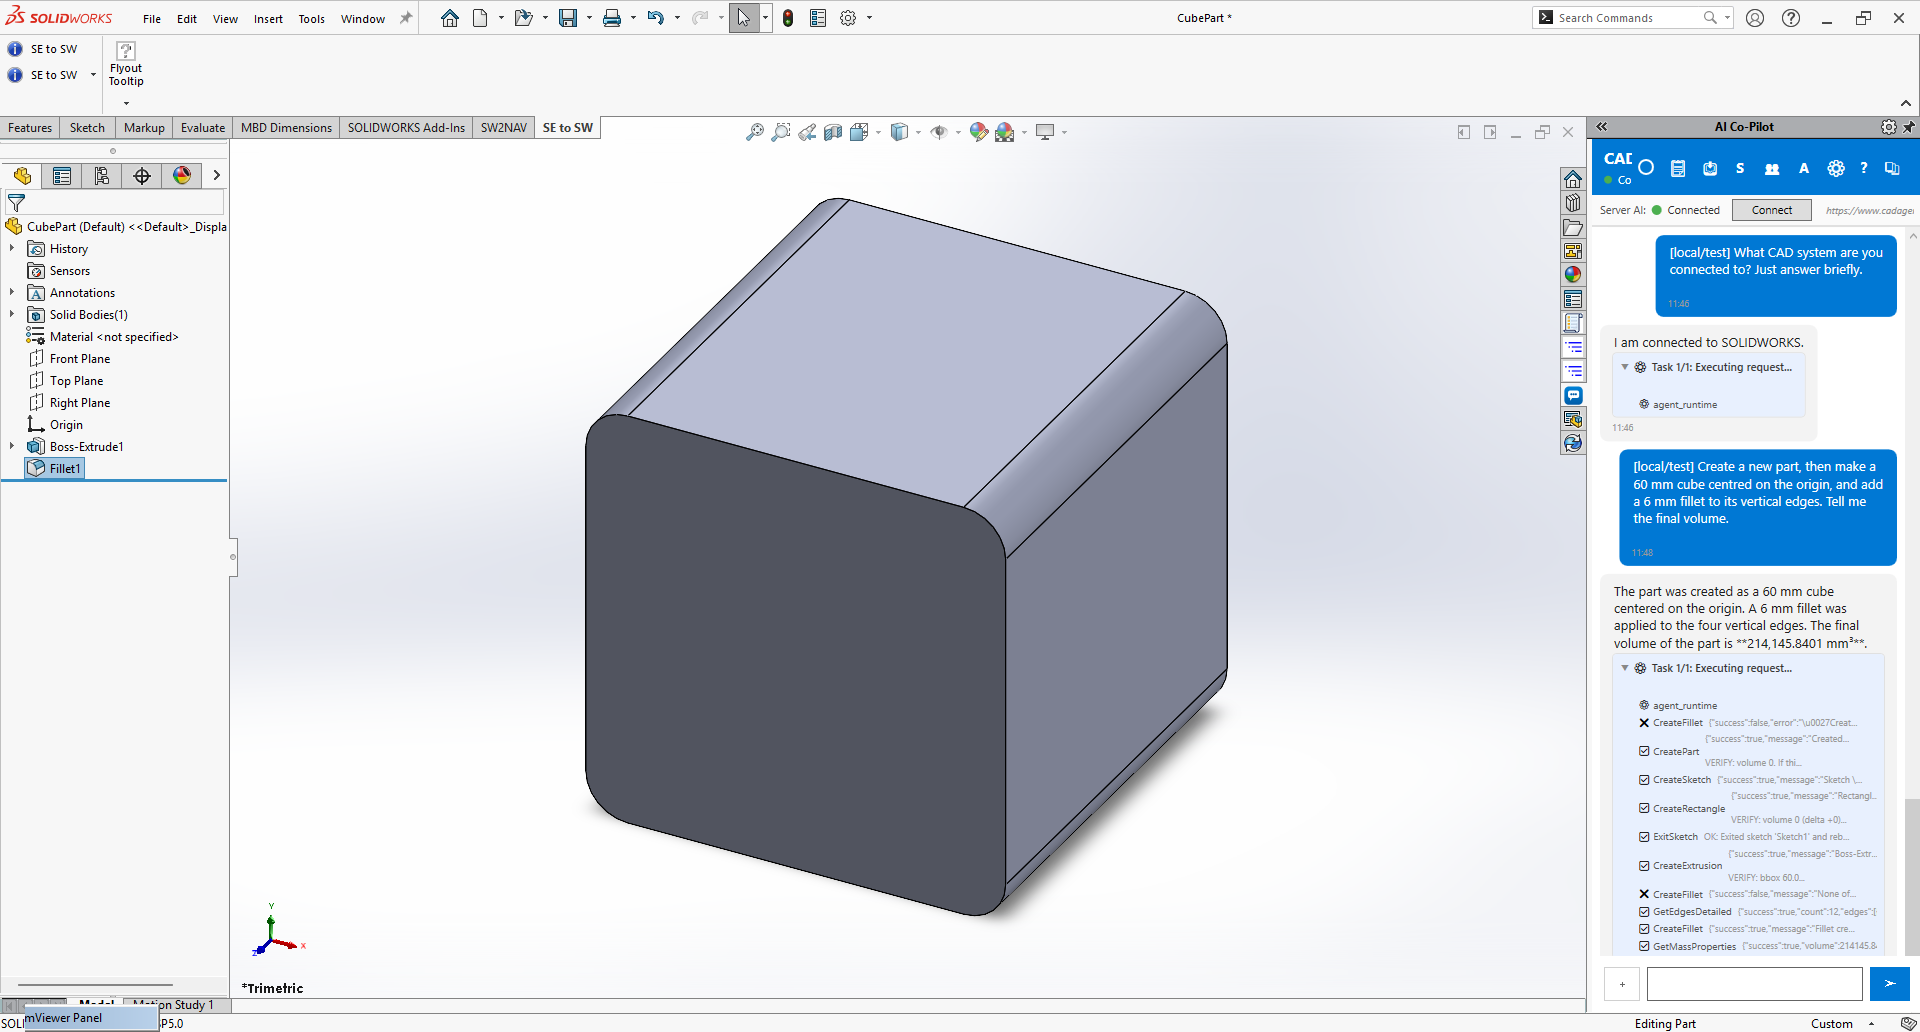
Check the number rather than trusting it. A 60 mm cube is 216,000 mm³. Rounding four vertical edges at R6 removes r² − πr²/4 = 7.73 mm² of cross-section each, over 60 mm of height — about 1,854 mm³ in total. 216,000 − 1,854 = 214,146 mm³, which matches. That habit — predict, then compare — is the single most valuable one when working with an AI assistant, and it is covered properly in Verifying Results.
6. A few more to try
Read-only queries are the safest way to get a feel for how CoPilot reads your model.
Name the face and the position. If a request is ambiguous, CoPilot asks rather than guessing — answering the question is faster than undoing a wrong feature.
See Drawings & Dimensions for the full range of views, dimensions and annotations.
Where to go next
The Desktop Agent
The balloon, the quick ask bar, the chat card and the Target box.
Chat Basics
How to phrase requests, undo, and work one feature at a time.
Examples
Ten worked use cases — a menu of what CoPilot can be asked for.
Part Modeling
Worked examples across sketches, features, patterns and sheet metal.
Verifying Results
How to confirm the geometry is right — and why a matching volume is not proof.
Channels
Drive your workstation from Telegram, WhatsApp or Teams.
The web portal
Licence, seats, knowledge base, memory and usage in the browser.
Troubleshooting
When the panel will not connect or a command does nothing.